
How to Add a New WordPress User
Adding a new user to your WordPress site is a fairly straightforward and user-friendly process. Follow our step-by-step guide to do it quickly and securely.
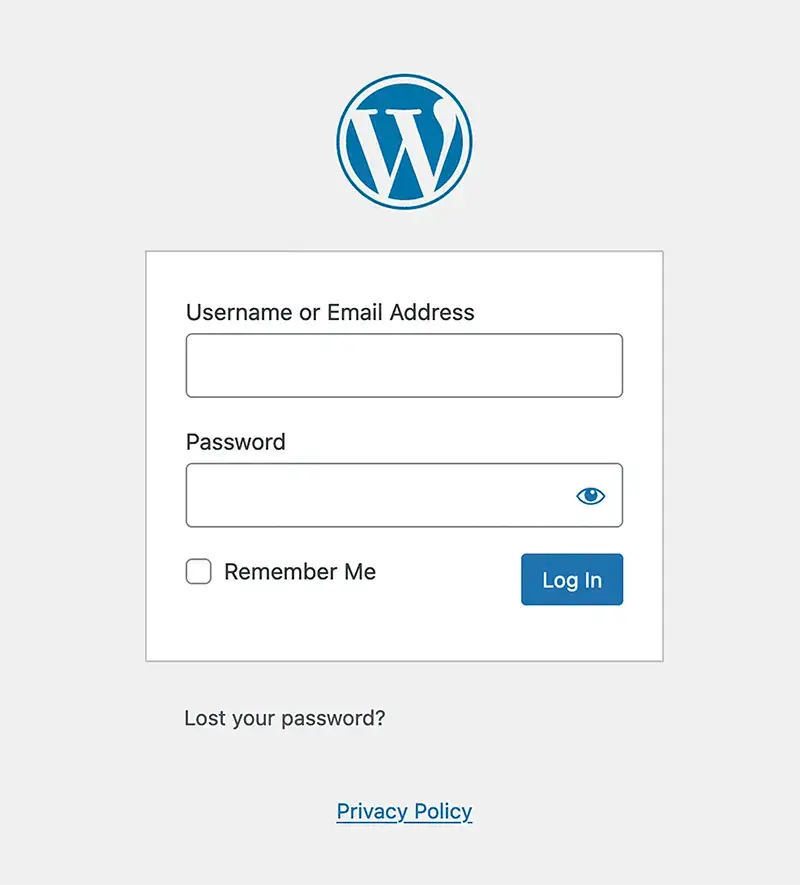
Step 1: Log In to Your WordPress Dashboard
Access your WordPress dashboard by visiting www.yoursite.com/wp-admin. Enter your username and password to log in.
Note: This is the default URL for most WordPress sites. However, in some instances, this URL might be different if your site’s admin URL has been customized for additional security or personal preference.
Step 2: Navigate to Users
In your WordPress dashboard, locate the ‘Users’ option in the left-hand menu. Click on ‘Users’ to open the user management section.
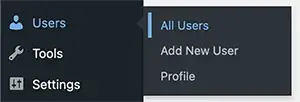
Step 3: Add New User
At the top of the Users page or in the sidebar pop out, click on the ‘Add New User’ button. This will take you to the ‘Add New User’ page.
Step 4: Fill in User Details
Enter the new user’s details, including username, email, first name, last name, and website (optional). When creating a password, you can opt for a strong password generated by WordPress or create one yourself.
Note: WordPress typically sends a link to the email address you enter in the form, allowing the new user to set their own password. This means you don’t need to copy and share the password manually, enhancing security. However, if this option is unchecked, you will need to provide the new user with their username and password. Ensure this information is shared securely to maintain the safety of your site.
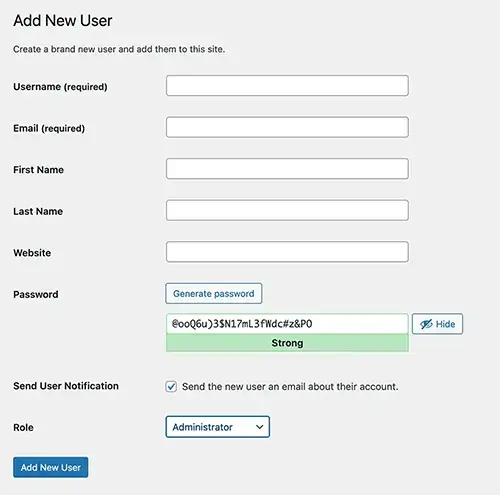
Step 5: Assign a Role to the New User
On the ‘Add New User’ page, you’ll find a ‘Role’ drop down menu. Here, you select the appropriate role for the new user. WordPress roles vary, each with different levels of access and capabilities:
- Administrator: This role grants full access to the website. An Administrator can add other users, change settings, install plugins and themes, and edit any content. This role should be assigned with caution due to its extensive control.
- Editor: Editors can manage and publish posts, including those written by other users. They cannot access site settings but have control over content.
- Author: Authors can publish and manage their own posts but can’t edit posts by others or access site-wide settings.
- Contributor: Contributors can write and manage their own posts but cannot publish them. Their posts must be reviewed and published by an Editor or Administrator.
- Subscriber: Subscribers can read posts and manage their user profile. They have no editing or publishing capabilities.
Choose the role that best fits the new user’s responsibilities on your website. Remember, it’s important to consider the level of access each role provides to maintain your site’s security and integrity.
Step 6: Add the New User
Fill in all the details and select the correct role for your new user. Click the ‘Add New User’ button at the bottom of the page. Your new user is now created and can log in with their credentials.
Note: If your settings look different – ensure your WordPress installation is up to date. Outdated versions may have different settings or lack certain features covered in this guide. Regular software updates are crucial for security and functionality.
Conclusion
Adding a user to your WordPress site is an standard task for managing your website effectively. Remember to only grant admin access to trusted individuals, as this role has significant control over your site.